6 Easy Steps To Create A Testimonials Slider On Squarespace 7.1

Create a Testimonial Slider On Squarespace 7.1!
Showcasing past client testimonials on your website is a great way to convince someone visiting your website to become your client as well. When people see real-life stories they’re more likely to book your services, hire you, or purchase whatever you’re selling.
Luckily for you in Squarespace 7.1, you can easily create a testimonial slider by using a Summary Block. Today we’ll show you how to do it, let’s get started!
6 Easy Steps To Create A Testimonials Slider On Squarespace 7.1

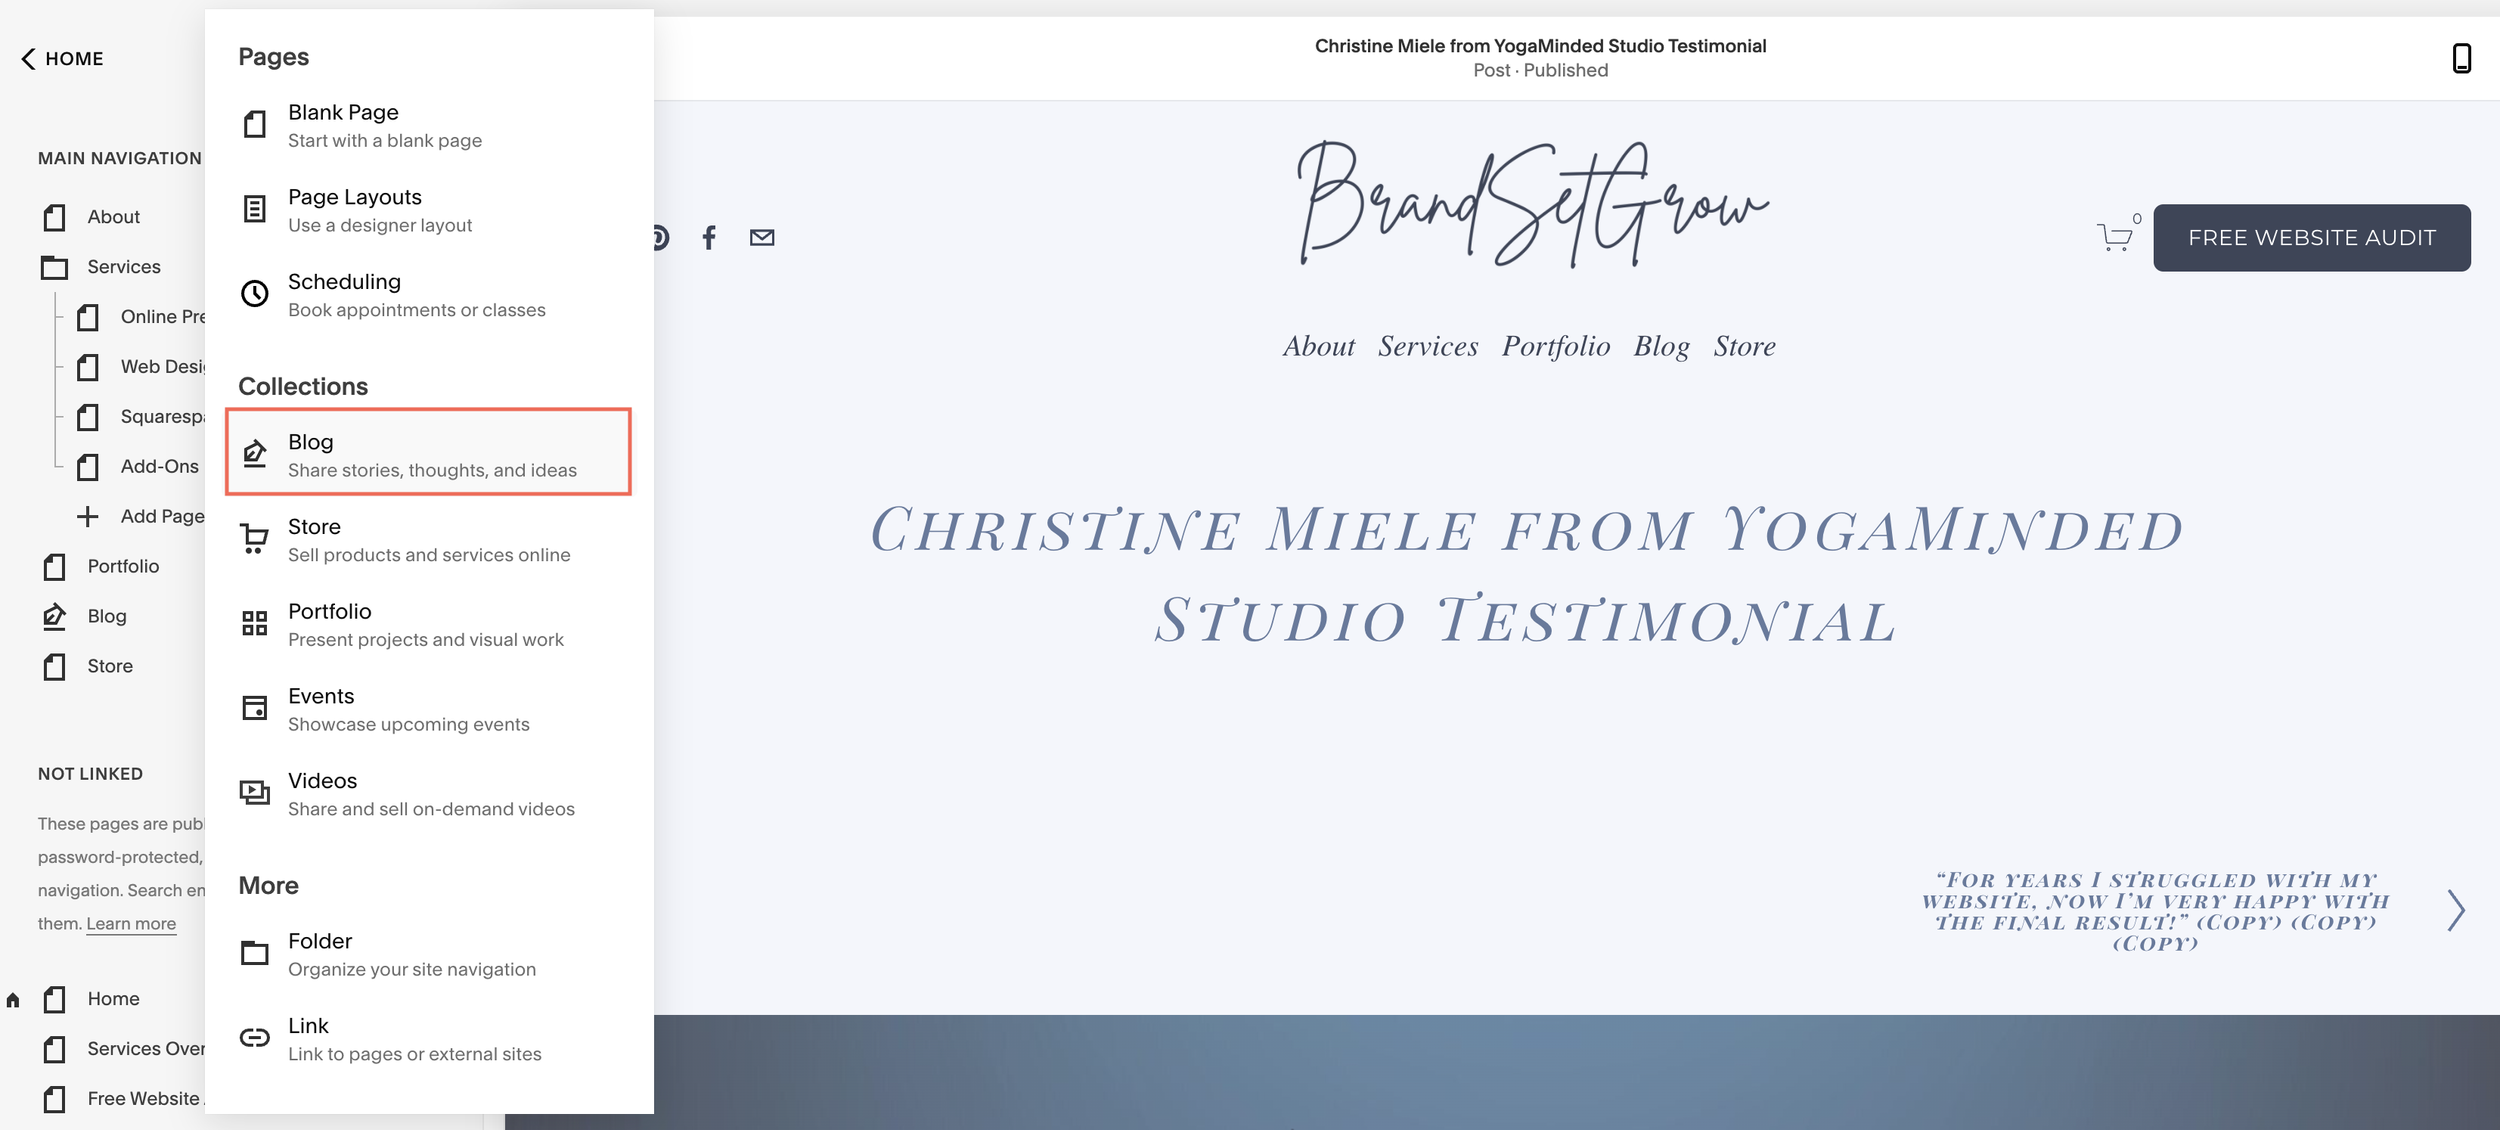
Step 1: Create a Blog Page
For the testimonials to work you need to create a new blog. This blog will only be used to host your client testimonials, not your blog content. You can d this by:
Click the plus sign (+) on your pages menu in the NOT LINKED section
Add a new Blog Page
Rename the new page “Testimonials” for example
Step 2: Create a Testimonial Blog Page
Go to the Testimonials Blog page
Click the plus sign (+) to create a new blog post

Step 3: Create a New Testimonial
Click “Options” on your new blog post
Under “Content” add your testimonials to the “Excerpt” section
Choose between the different options to style the font
Click “Save”

Step 4: Save
Save and publish
Repeat the steps above to add as many testimonials as you wish

Step 5: Create The Testimonial Summary
Go to the page or section of your website you want to add the testimonials
Add the testimonials block by creating a Summary Block

Step 6: Adjust The Testimonial Summary settings
You can adjust the testimonial summary settings by:
Under the CONTENT tab:
Choose Blog > Testimonials
Under the DESIGN tab:
Customize the display to fit your needs, you can change the number of items, items per row, aspect ratio, text size, text alignment, header text, and elements.
Under elements make sure the “Show Excerpt” is ON


Final Result


Make Sure You Download Our Free Resources
Free Training “5 Effective Ways to Improve Your Online Presence”
Business Foundation Workbook
Brand & Style Workbook
Website Design Guide For Health, Wellness & Fitness Brands
Content Marketing Planner
Search Engine Optimization (SEO) Checklist
Final Thoughts
That’s it - 6 Easy Steps To Create A Testimonials Slider On Squarespace 7.1!
We hope this article was clear and straight to the point! We have no doubt that after reading this you’ll be able to create a testimonial slider on your Squarespace website.
Now it's your turn to tell us, after reading this article do you have any questions? Send us your thoughts, and any other concerns you might have, and we’ll do our best to answer them.
Want to start working on your online presence? Check out our free resources!
FIND THIS POST HELPFUL? YOU’LL ALSO LOVE THESE…
8 Ways to Land Clients When You’re Starting out as an Entrepreneur
How to Create a High-Converting Landing Page For Your Free Offer
Which Squarespace Plan is the Right One for your Health, Wellness, Or Fitness Business?